From £6.99

Master Horse Clipping in 10 Simple Steps
Are you looking to give your horse a fresh look by clipping its coat? Horse clipping can be a daunting task, but with the right tools and techniques, you can achieve a professional finish. In this guide, we will walk you through the 10 simple steps to master horse clipping, ensuring your equine companion looks neat and tidy all year round.
Understanding the Basics of Horse Clipping
At the heart of horse clipping is the aim to remove surplus coat, enhancing your horse's ability to cool down after exercise, particularly in warmer months or when the workload increases. It's not just about aesthetics; it’s about your horse’s well-being. Different clip styles suit various needs and seasons, from a full clip for those in heavy work to a trace clip for light work. Understanding these basics will guide you in making the best choices for your horse, ensuring they're comfortable, happy, and ready for whatever the day brings.
Choosing the Right Clippers
Finding the ideal clippers is fundamental to a seamless clipping experience. Opt for models crafted for equine grooming, as they're built to tackle the thicker coats of horses effectively. Consider factors like the clippers' weight, noise level, and the variety of blade options available. A lighter, quieter clipper can make the process less stressful for both you and your horse, whilst having a selection of blades allows for versatility in achieving different lengths and finishes. This careful selection ensures a smooth clipping session, leaving your horse looking splendid. take a look at our excellent range of professional quality horse clippers and trimmers here
Preparing Your Horse
Before embarking on the clipping journey, it’s crucial to prepare your horse to ensure a smooth and comfortable experience. Start by thoroughly washing and drying their coat to remove any dirt, dust, or grease that could clog your clippers. A clean coat allows for easier clipping and a neater finish. Next, detangle the mane and tail, and carefully trim any long hairs around the ears, muzzle, and fetlocks. This not only facilitates the clipping process but also helps in preventing any discomfort or snagging, making the experience more pleasant for your equine friend.
Setting Up Your Clipping Area
Select a spot that's bright and airy for your clipping escapades, ensuring it's a calm sanctuary for your horse. The footing should be non-slip, safeguarding against any accidents. Have your horse either securely tied or held by a trusted helper, minimising any unexpected moves. Position a stable table or bench within arm's reach to neatly organise your clipping arsenal. This setup not only prioritises safety but also creates an efficient workspace, allowing for a smooth and stress-free clipping experience for both you and your horse.
Starting with a Test Patch
Before you dive into the full coat, initiate your clipping journey with a test patch. Choose a discreet section, preferably on the hindquarters, to assess the clipper’s performance. This initial step allows you to adjust the speed and blade tension, ensuring the clippers cut smoothly and at the right length. It’s a smart way to anticipate how your horse’s coat reacts to clipping, allowing for any necessary adjustments before you proceed with the entire coat. This thoughtful approach ensures a seamless clipping experience, setting the stage for a beautifully groomed horse.
Clipping in Sections
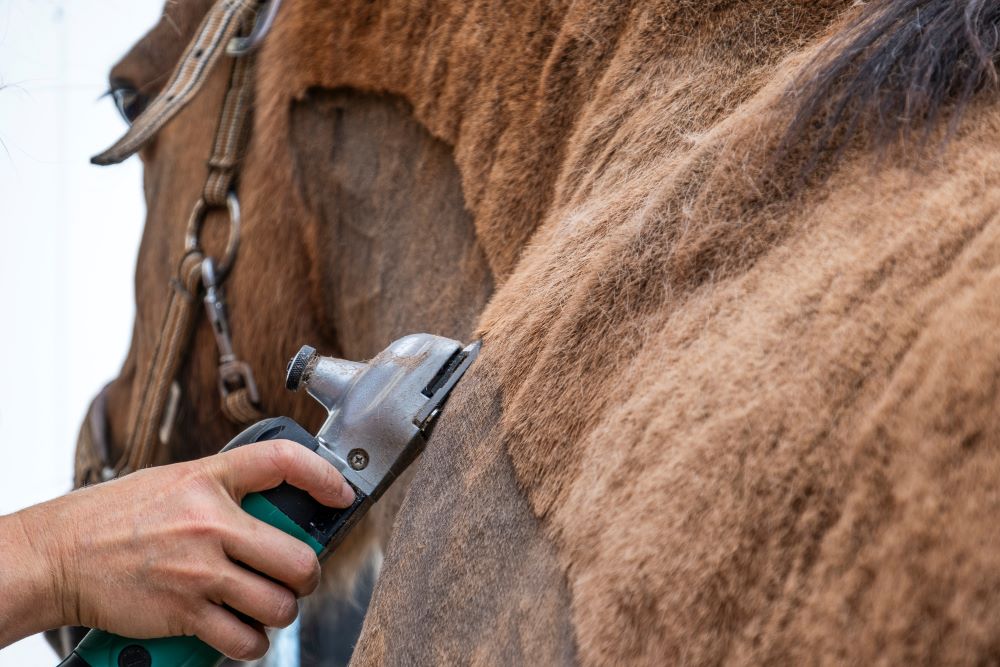
Tackle your horse's coat in manageable segments, initiating with the neck before moving to the shoulders and then the chest. Employing steady, flowing strokes, align your clippers with the hair's natural direction, ensuring an impeccably even finish. As you navigate the unique contours of your horse's body, adapt your technique to maintain consistency in clip length, contributing to a seamless and refined appearance. This methodical approach not only simplifies the task but also enhances the overall grooming experience for both you and your horse, leaving them looking exceptionally smart and well cared for.
Managing Sensitive Areas
Navigating the clipping process around sensitive areas requires a delicate hand and a patient approach. In these zones, such as the face, ears, and underbelly, opt for a gentler technique, ensuring the skin is taut for a smoother passage of the clippers. It's key to allow for brief pauses, offering your horse moments to adapt, which fosters a trusting environment. This careful handling promises a comfortable experience for your horse while securing a meticulous outcome.
The Finishing Touches
Crafting the final look requires attention to detail. With the bulk of the clipping done, shift your focus to the legs, face, and tail, where precision is key. Employ smaller clippers or scissors for these areas, carefully tidying any stray hairs and ensuring edges are neat. This meticulous approach highlights your horse’s features and enhances their overall appearance. Keep a steady hand and an eye for symmetry to refine their elegant look. Remember, these details underscore the quality of your clipping work, showcasing your dedication to your horse's grooming.
Aftercare for Your Horse
Following a meticulous clipping session, it's pivotal to lavish your horse with a thorough grooming. This not only extricates any lingering clippings but also is a splendid opportunity to inspect the skin for any irritations that might have arisen during the process. Employing a soft brush, gently sweep away the residues, ensuring a clean and sleek finish. Introducing a high-quality coat conditioner or a light oil can work wonders in replenishing the natural oils stripped away during clipping, leaving the coat with a lustrous sheen and the skin supple. During the subsequent days, make certain your horse is snug and sheltered, supporting an even regrowth of their coat. This level of aftercare solidifies the comfort and well-being of your equine companion, reflecting the depth of your commitment to their grooming regimen. Ensure you have all the essential grooming equipment and Coat Care products
Cleaning and Maintaining Your Clippers
To ensure your clippers remain in tip-top condition, a good clean post-use is essential. Begin by brushing off any trapped hair and debris from the blades and body. It's a wise practice to lubricate the blades after each session, keeping them sharp and efficient. Regular checks for wear or any damage will save you from future hassles, guaranteeing your clipping tools are always ready for action. This attention to maintenance will extend the life of your clippers, ensuring they're always up to the task.
